
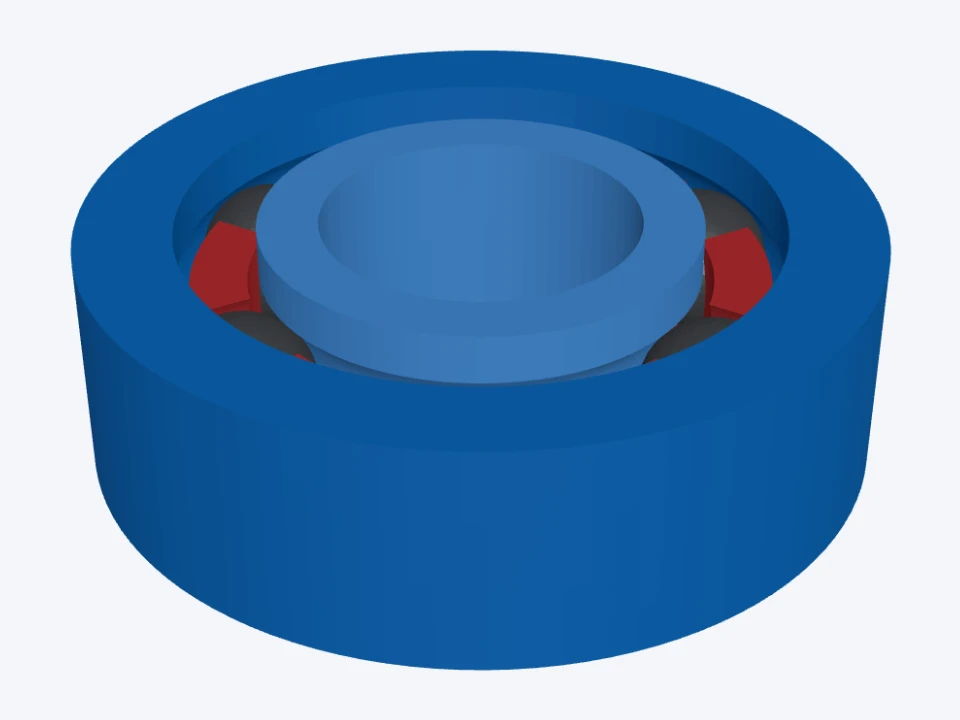
Starter · 3/8 in rod, steel BBs
bore Ø9.53 · OD Ø24.23 · width 7.14 mm · 6 steel BBs Ø4.5
The tested print: a deep groove bearing for a 3/8 in rod, 4.5 mm steel BBs in a crown cage.
Pick the kind of bearing, give the shaft and the balls or needles you have on the shelf, and the app sizes the races, the cage and the walls to them. Print the fit coupon once to tune the fit to your printer, then download every part as STL, and every part but the crossed roller's spacers as STEP.
Two one-piece races and a crown cage that snaps over the balls, on 4.5 mm steel BBs, 6 mm airsoft BBs or your own balls, filled the Conrad way. The outside diameter and width size themselves to the ball and the bore.
Needles cut from filament lie like spokes in a flat cage between two flat races, for load along the shaft. Races with flanges, or a cup with snap catches that holds the bearing together.
A slew ring for turntables and robot joints: printed tapered rollers, each turned 90° to the next with a printed spacer between them, in a V-groove in each race, with bolt holes in both races (clearance, threaded or countersunk). The outer race comes in two halves, clamped by its bolts and lined up by cones round each bolt. It carries load along the shaft, across it and tilting.
Two rows of balls, a groove or a flange round the outside, a larger outside diameter (a thicker outer race), a hexagon outside or a pillow block with hold-down feet, and D-flat, keyway, spline or hex bores.
Print the fit coupon, a set of rings bored in clearance steps, and enter the step that turns freely on your shaft. Every hole and gap is drawn that much bigger. No wall is drawn thinner than two nozzle widths; a design that would need one is refused, with the reason.
STL of every printed part, in the pose it prints in, with your print compensation; STEP at true size of every part but two on the crossed roller: its spacers, and an inner race with a shaped bore and bolt holes. Those are STL only for now.
| Bearing | Rolling elements | Carries |
|---|---|---|
| Deep groove ball bearing | 4.5 mm steel BBs, 6 mm airsoft BBs or a custom ball; one or two rows | Load across the shaft, and some along it |
| Needle thrust bearing | Needles cut from filament (1.75 mm or your own) | Load along the shaft |
| Crossed roller bearing | Printed tapered rollers, crossed | Load along, across and tilting (a slew ring) |
| Fit coupon | Seven rings in clearance steps (free) | Sets your 3D Print Compensation |
| Files | STL of every printed part; STEP of every part but the crossed roller's spacers |
Necessity is the mother of invention. We created the 3D printable bearings app because we always have a need for a bearing we never seem to have on hand. The app allows you to make a custom bearing for your specific needs to quickly test with your project. Each sample opens in 3D, ready to change.
bore Ø9.53 · OD Ø24.23 · width 7.14 mm · 6 steel BBs Ø4.5
The tested print: a deep groove bearing for a 3/8 in rod, 4.5 mm steel BBs in a crown cage.
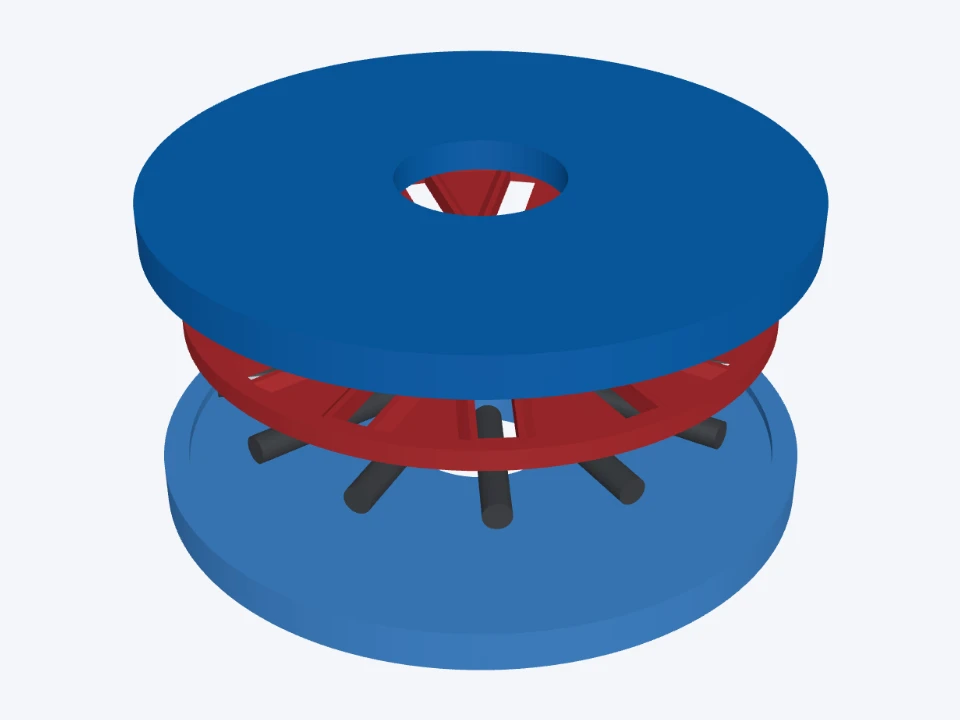
bore Ø9.53 mm · 13 needles Ø1.75 × 10 mm · flanged races
Needles cut from 1.75 mm filament between two flanged races.
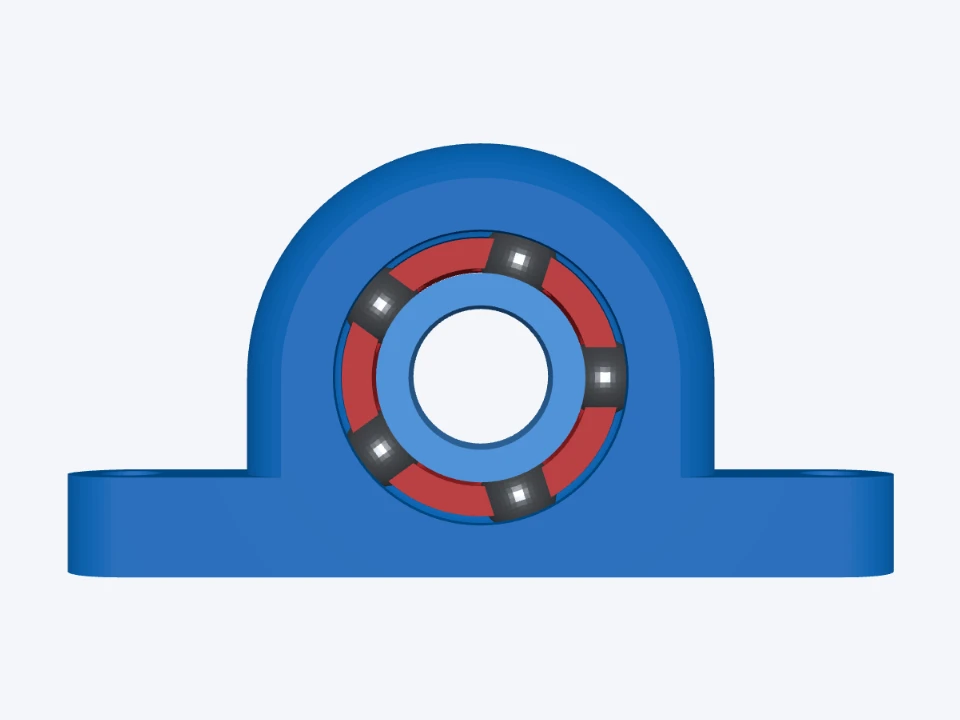
bore Ø8 · OD Ø22.7 · width 7.14 mm · 5 steel BBs Ø4.5 · pillow block, centre 11.35 mm above the base (the minimum)
The pillow block at its lowest: the bearing's centre 11.35 mm above the base, half the outside diameter, so the base just touches the race. Raise it to any height above this (see the raised pillow block). A bulged top and two hold-down feet for M3 screws.
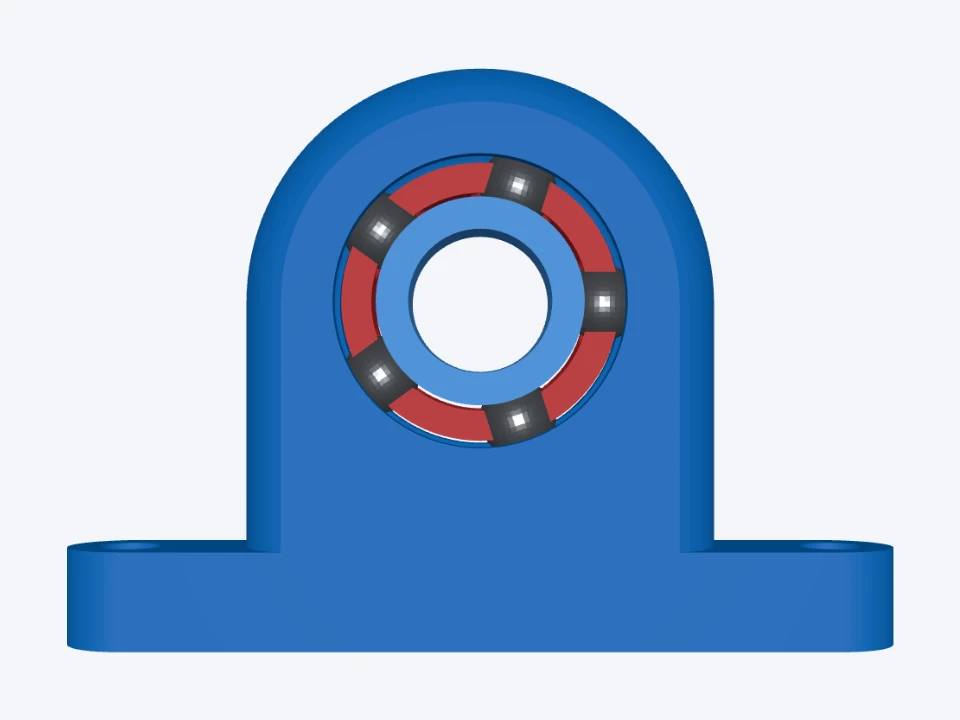
bore Ø8 · OD Ø22.7 · width 7.14 mm · 5 steel BBs Ø4.5 · pillow block, centre 20 mm above the base (raised from the 11.35 mm minimum)
The outer race is its own pillow block, raised: its centre height set to 20 mm above the base, well above the 11.35 mm minimum (the base just touching the race). Any centre height from the minimum up can be set. A bulged top and two hold-down feet for M3 screws.
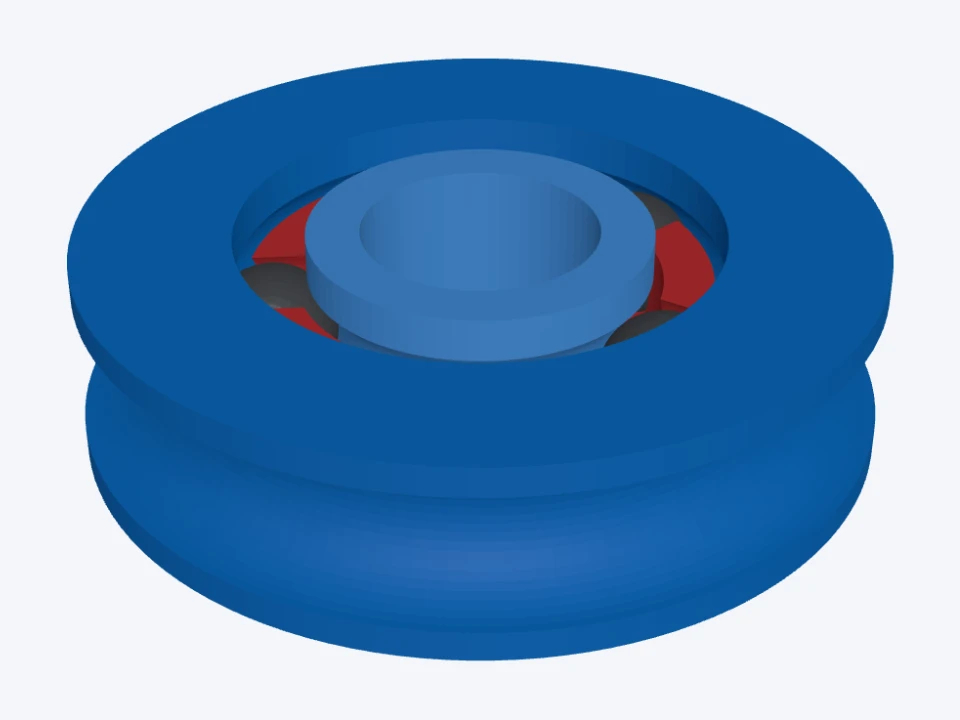
bore Ø8 · OD Ø27.7 · width 7.14 mm · 5 steel BBs Ø4.5 · semicircle groove 5 wide, 2.5 deep
A deep semicircle groove round the outside for a 5 mm round (O-ring cord) belt, 2.5 mm deep.
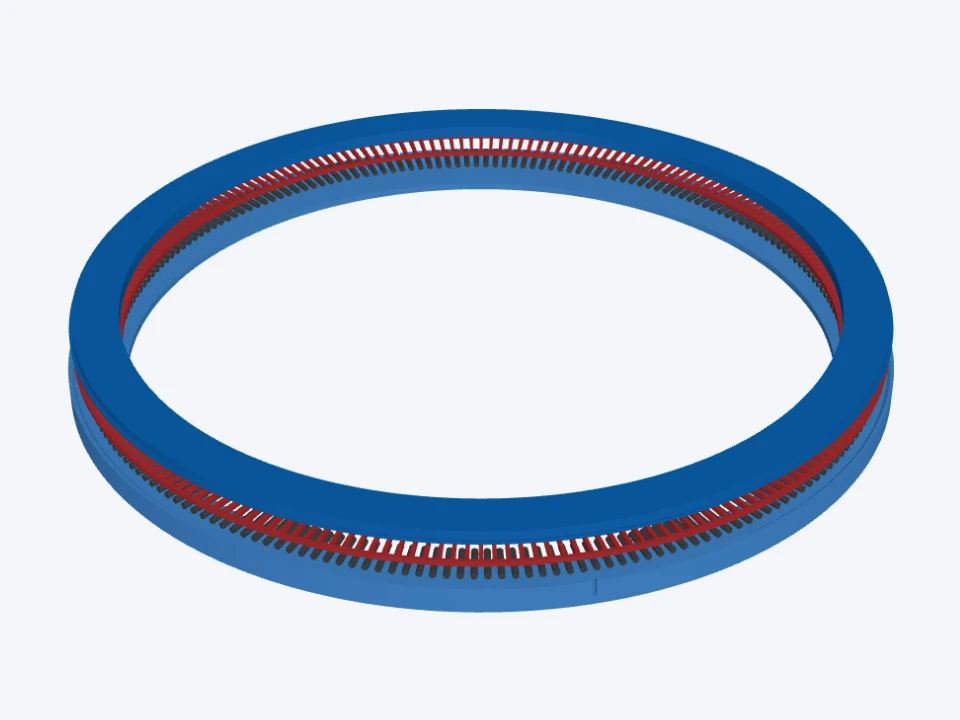
bore Ø200 mm · 212 needles Ø1.75 × 10 mm · a cup with snap catches
A large flat needle thrust bearing: 1.75 mm filament needles 10 mm long, in a cup with snap catches, on a 200 mm bore.
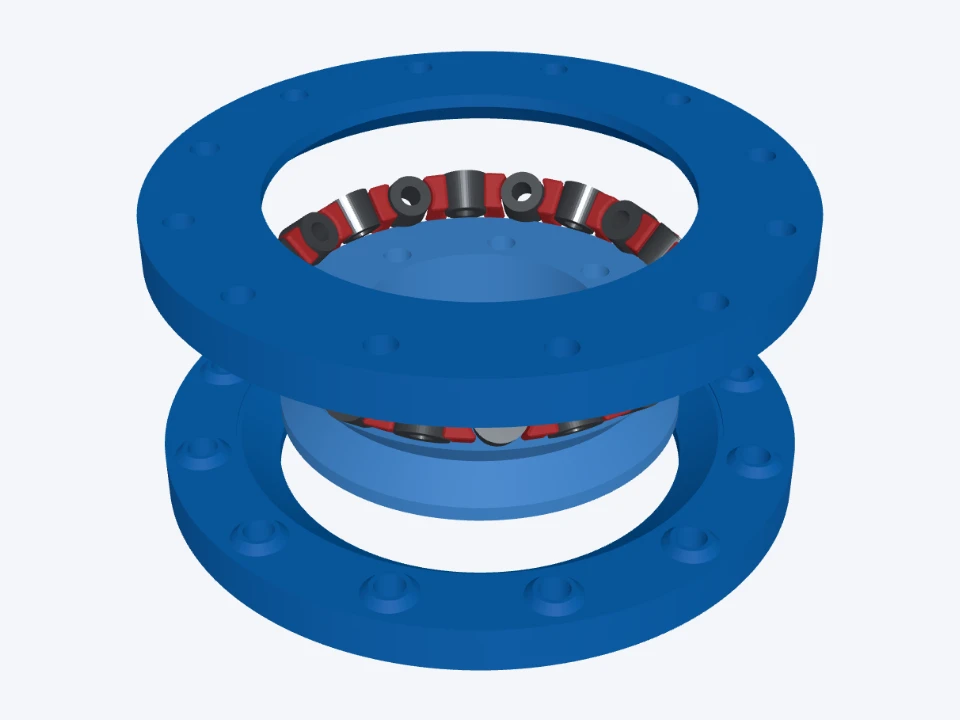
bore Ø30 · OD Ø79.75 · width 11.84 mm · 20 rollers Ø6 · spacers A and B · M3 bolts: 8 inner, 12 outer
Printed tapered rollers crossed at 90°, spacers A and B between them, M3 bolts.
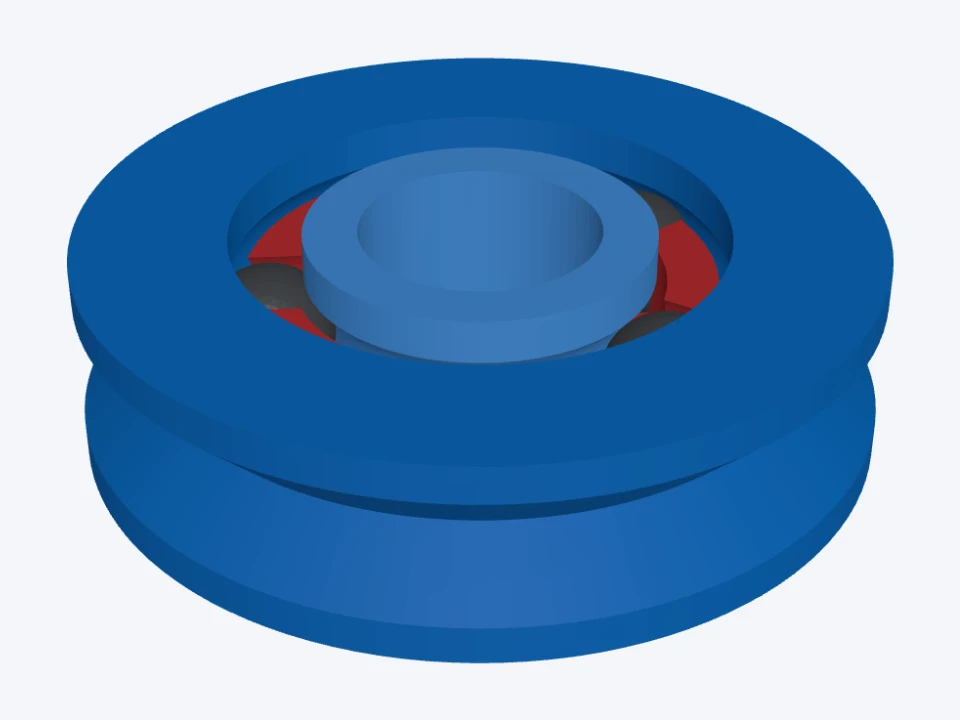
bore Ø8 · OD Ø27.2 · width 7.14 mm · 5 steel BBs Ø4.5 · V groove 4.5 wide, 2.25 deep
A 90° V groove 2.25 mm deep round the outside, for a V belt or a guide rail.
STL of every printed part, in the pose it prints in and with your print compensation, and STEP at true size of every part but two on the crossed roller bearing: its spacers, and an inner race with a shaped bore and bolt holes, which are STL only for now. The balls and needles are bought or cut, so they are in the 3D view only.
The rolling elements: 4.5 mm steel BBs or 6 mm airsoft BBs for the ball bearing, or your own balls; a length of filament, cut into needles, for the thrust bearing. The crossed roller bearing's rollers are printed. A little light grease helps.
Print the fit coupon first: rings bored in clearance steps. Slide each on your shaft, and enter the clearance of the tightest one that turns freely. Every hole and gap in the bearing is then drawn that much bigger, so it prints true. It's also called horizontal expansion, and it can be set in most 3D printer slicer settings. Set it in one place, not both: a positive value in our tools makes holes larger, which is a negative horizontal expansion in most slicers.
Place the outer race on a flat surface, then place the inner race inside the outer race. Push the inner race all the way over till it's touching the outer race. Then add the required number of ball bearings between the inner and outer races. Using something like a toothpick or small flathead screwdriver, distribute the bearings equally around the races. Take the cage and line it up so that the slots of the cage go between the bearings inside the races. Press down on the cage till it clips past the bearings below. It may take some effort, and it helps to have a flat object to press down on the cage to keep pressure equal while you're pressing the cage.
 Outer race flat, inner race inside
 Push the inner race over until it touches
 Add the balls in the gap
 Space them evenly with a toothpick
 Line up the cage between the balls
 Press the cage down evenly until it clips
Much less than a steel bearing of the same size, and a steady load makes plastic creep. Every kind was printed and tested before it went into the app, but none has a measured load rating. Test yours in the job before you rely on it.
Yes. Designing and checking are free. Downloads cost a few tokens, the same as the other tools, and one purchase covers every file of that design, and you can download them again at no charge later. The fit coupon is free. See Pricing.